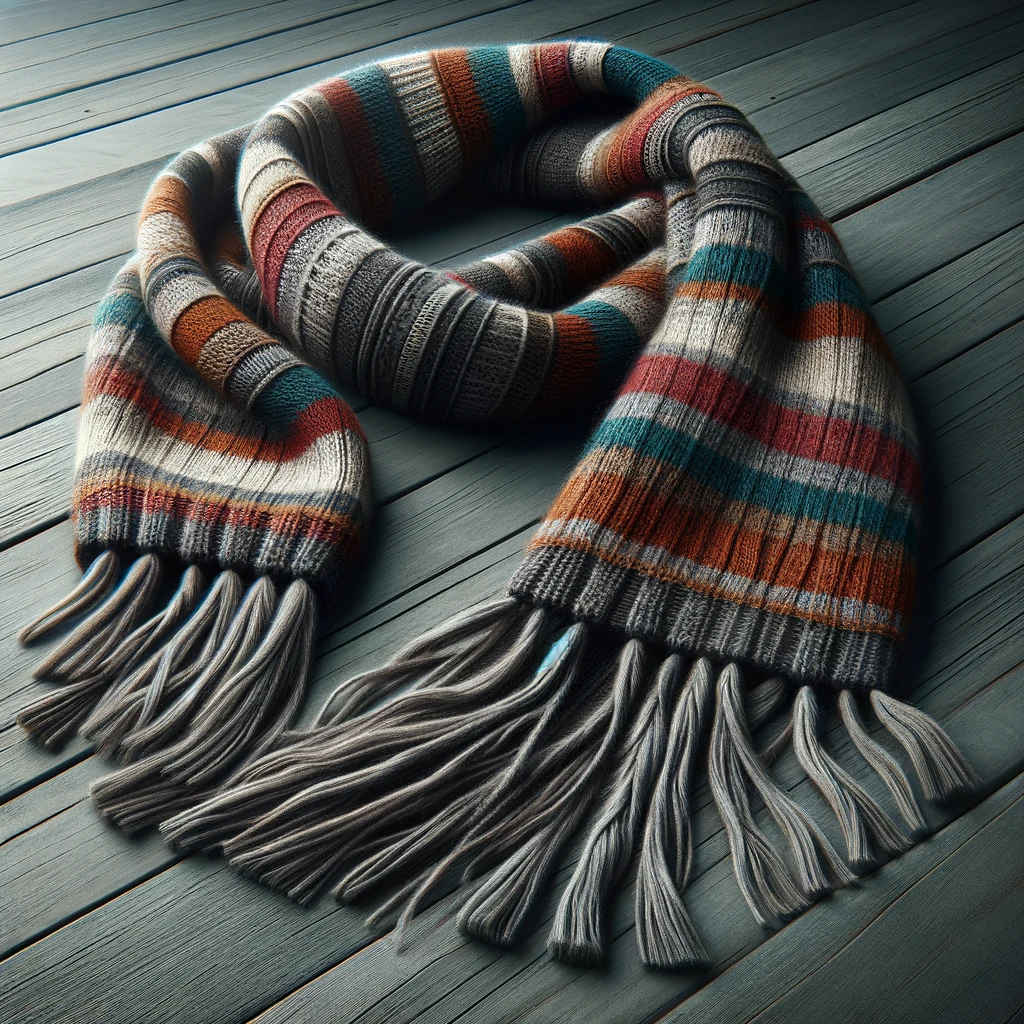
If you're a newby knitter, embarking on your knitting journey with a scarf is a great idea. It's a straightforward project that leads to a lovely and useful item that you can wear or gift with pride. Let's go through the basic steps to knit your very first scarf.
What You Need:
Yarn: Opt for a medium-weight yarn (anything from double knit to chunky). It's easier to handle and works well for beginners with quick results.
Knitting Needles: Choose needles to match your yarn (see our guide). Anything from 4mm to 10mm needles are beginner-friendly.
Scissors and Tapestry Needle: For finishing your scarf. A paper and pen may also be helpful if you want to keep notes.
First Steps: Casting On
Before you begin, we have a free beginners guide that you are welcome to download if needed. This will help with casting on, knitting and purling.
- Start with a Slip Knot: This forms your first stitch.
- Casting On: For a scarf, 20-30 stitches is a good starting number depending on the thickness of your yarn. The 'long-tail cast-on' is a beginner-friendly method.
Mastering the Knit Stitch
The knit stitch is fundamental in knitting and a great start for your scarf. Knitting every row creates a garter stitch fabric. This is the perfect border for your project to prevent curling and keep a solid edge.
- Insert the needle into the front of the first stitch from left to right.
- Wrap the yarn around the needle.
- With the needle tip, bring the loop through the stitch to the front and slide the old stitch off the needle.
- Repeat across the row.
Creating Your Scarf
Keep Knitting: Each row adds length. You can continue to knit every row for the entire scarf, but if you're feeling confident you could choose to experiment with the following options:- Change colour every few rows to form stripes. These could be thick or thin. Mix it up!
- Add sections of different stitch patterns, such as:
- Stockinette stitch - knit a row, purl a row.
- Knitted rib - with an even number of stitches, *[knit 1 stitch, purl 1 stitch]; repeat this along each row.
- Moss stitch - with an even number of stitches; Row 1 - *[Knit 1, purl1] to the end. Row 2 - *[Purl 1, knit 1] to the end. Repeat these 2 rows as needed.
Aim for about 150cm or your preferred length. If you haven't already, finish the scarf with a section of garter stitch (all knits) to create a stable edge. When your scarf reaches the desired length, it's time to bind off to secure the stitches.
Time To Finish
- Bind off:
- Knit Two Stitches.
- Pull the first stitch over the second and off the needle.
- Knit 1 more stitch then again pass the first over the second. Repeat.
- Continue until one stitch is left, then cut the yarn leaving a long tail and pull it through.
- Weave in all your ends.
- Optional: Add a fringe
- Cut yarn strands, fold in half, and attach them to the scarf's ends - see our tutorial.
Enjoy Your Scarf
You've now completed your first knitted scarf. Enjoy your work and wear it proudly. Remember, each stitch is part of your learning journey.
Keep an eye on our blog for more knitting tips and projects. Our sustainable and eco-friendly knitting supplies are great for your next venture!
Happy Knitting!

